So I have a sweet friend who let me take Maternity Pics of her a few months ago when the weather was beautiful. Well since then she delivered a beautiful bouncing baby boy. I didn't get permission to post any pictures of him, so unfortunately you have to just imagine, but he is a little doll. So she really underestimated the number of bibs she would need for Mr. C. and she wanted some cute ones with mustaches on them and other little things. I embarked on a journey to do some for her and managed to get 1 and 3/4 done before my needle broke. Curses! I journeyed to walmart the next day and got another set of needles and have about a dozen left to do.
SIDENOTE: This blog has been ready for days...but Blogger for some reason decided to not let me upload photos.... I used a work around....Chrissy Couture must go on! :) lol
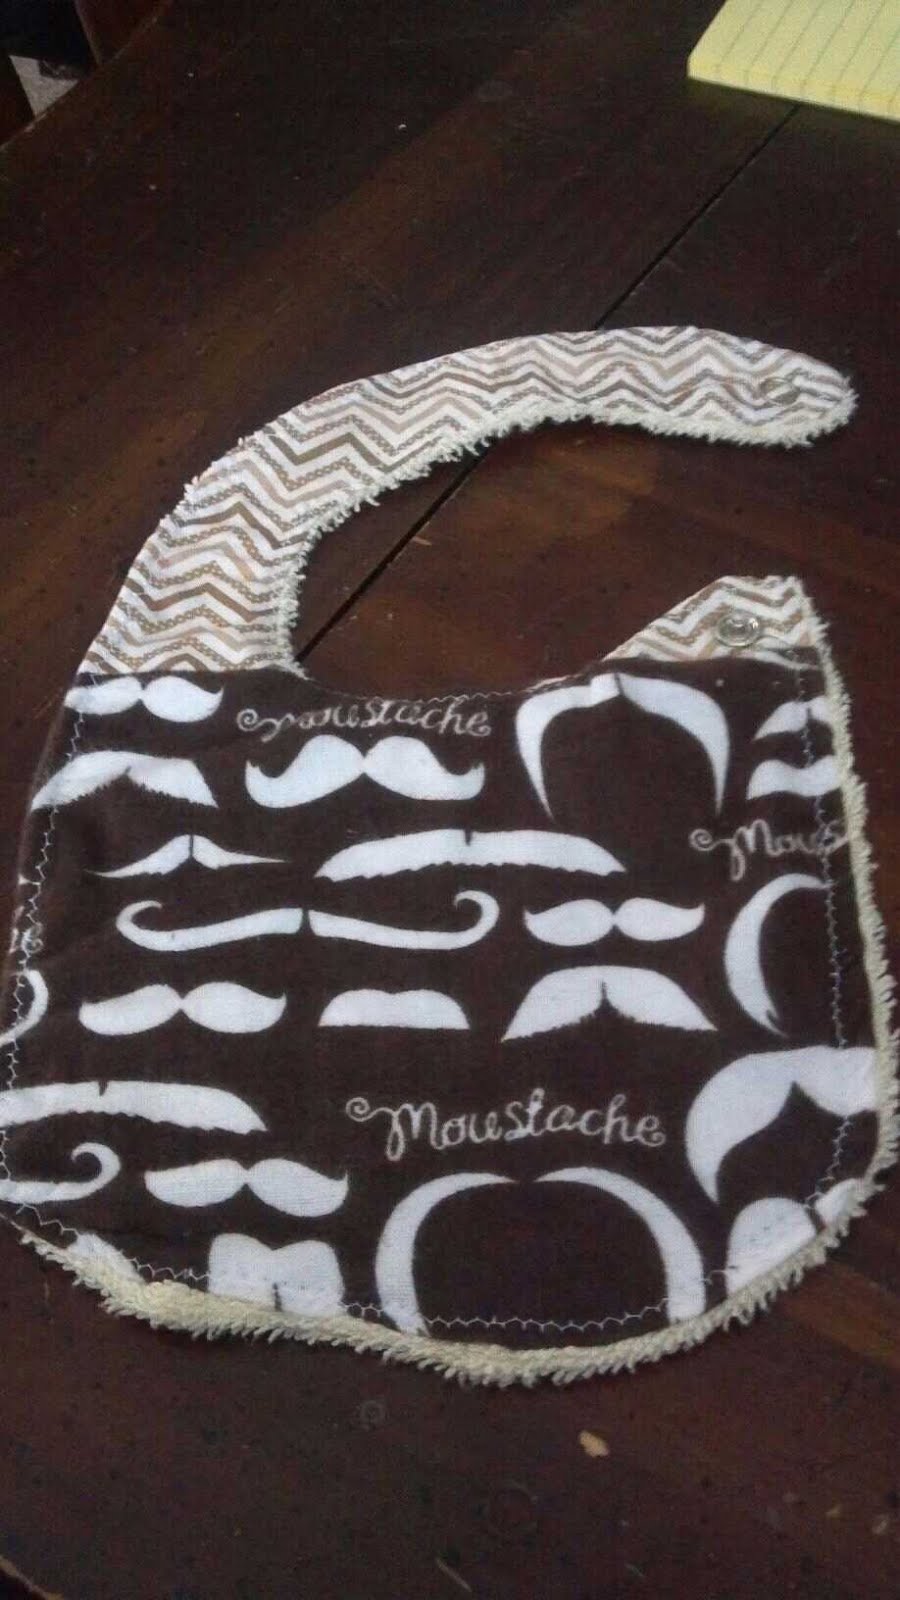
Here is a super easy tutorial in making bibs.
First off, get some fabric you love. A cotton will probably work best. For the back side, you can use a towel, a burp cloth or some other semi-absorbent material. If you use cotton on both sides, you will end up with a very thin bib.
She bought the fabric she liked and provided the towels.
She had already cut around one of his bibs as a pattern to go off of, so I used it to cut the rest of my fabric.


Once the pieces were cut, I pinned them right sides together, (which with a towel, either side is right side) and then I straight stitched around the outside making sure to catch both the towel and the fabric.

At the bottom, I left and opening and did not sew it so I could then turn it right side out.

The tricky part to turning the neck part right side out is to use a pencil and push the fabric through. My fingers would not work. At first I thought the pencil would rip the stitches I just put in as I pushed, then I remembered how long it took to unpick the last thing I sewed wrong. Never fear, those stitches are in there tight.

Then once you have it all turned, fold the bottom that you didn't sew into itself and pin.
Top stitch the whole thing around with a straight or zig-zag stitch. I used the zig zag cause I thought it looked cute.

Then to attach snaps. I had never used snaps before and I had read many blogs in the past that said they can be the devil if you don't have the right tool. Well all I can say to that is I agree! :) My sweet friend bought a little tool and the snaps and I tediously read (ok.... half read) the instructions. The 4th or 5th time I tried attaching a snap, I finally got it. Between the plastic piece and a hammer, hopefully those snaps are there to stay.

And here it is finished. It just needs a good ironing and then its complete.
I started this one too, but like I said my needle broke before I could flip in the bottom and top stitch.

I will be finishing them hopefully this week. And maybe next as well.
Try it out, its really easy.
And what do you think? I "mustache" if you like them.....
Until Next time....
Keep Calm......and Oh Snaps!
No comments:
Post a Comment